When setting up a Linux host for developing or testing web applications, security should be a top priority. An essential step in safeguarding your server is to ensure that unauthorized access is effectively prevented. One of the most efficient ways to enhance security is by implementing two-factor authentication (2FA) for SSH access. This added layer of security requires not just a password, but also a verification code generated by a device you own, significantly reducing the risk of potential hacking attempts.
In this guide, we will walk you through the process of enabling Google Authenticator for SSH 2FA on your host. By following these steps, you can protect your server from being easily compromised by hackers and maintain a secure environment for your web application development or testing activities.

Step 1: Update Your System
First, ensure that your system packages are up-to-date. Open a terminal and run:
bash
sudo apt update && sudo apt upgrade -y
Step 2: Install Google Authenticator
The Google Authenticator application will manage the 2FA process. To install it, run:
bash
sudo apt install libpam-google-authenticator -y
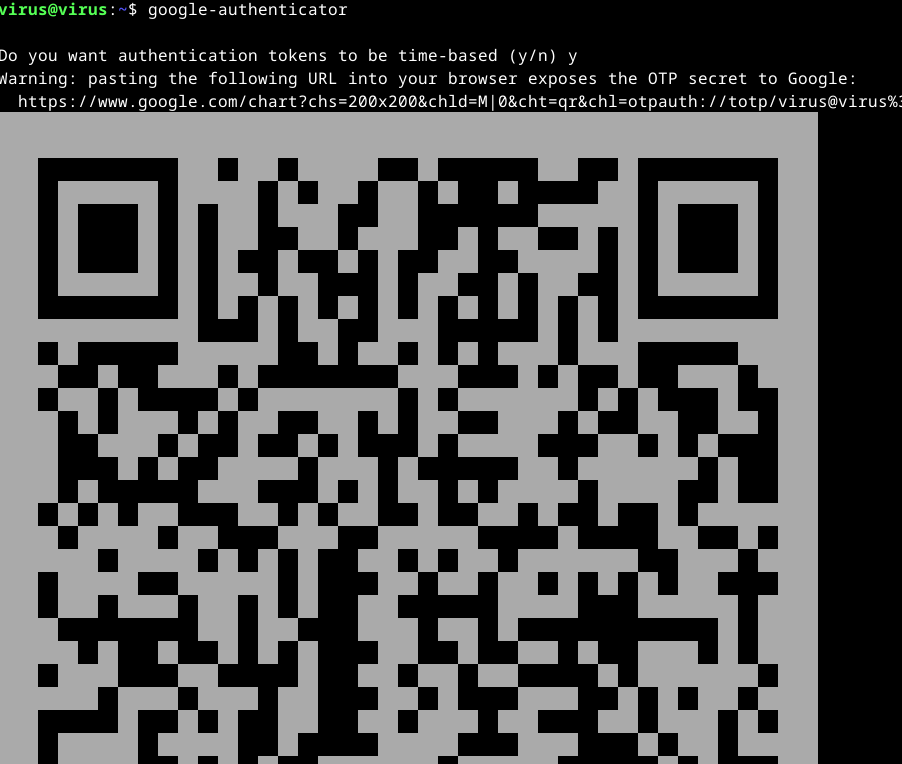
Step 3: Configure Google Authenticator for a User
Each user wishing to use 2FA with SSH will need to run the Google Authenticator configuration. Switch to the user account and run:
bash
google-authenticator-s ~/.ssh/google_authenticator
Answer the questions prompted during the setup. Make sure to note down the emergency scratch codes and scan the QR code with your authenticator app (like Google Authenticator or Authy on your smartphone).

Step 4: Configure SSH to Use 2FA
For Ubuntu 21.10, Debian 11, and earlier versions:You will need to enable ChallengeResponseAuthentication in the SSHD configuration.Open /etc/ssh/sshd_config with your editor (using sudo if necessary) and find the line that starts with ChallengeResponseAuthentication. Change it to:bash
sudo nano /etc/ssh/sshd_config
ChallengeResponseAuthentication yes
If the line doesn’t exist, add it.
For Ubuntu 22.04, Debian 12, and later versions:
The correct directive to modify is KbdInteractiveAuthentication.
Open /etc/ssh/sshd_config in your editor (again, using sudo if necessary) and locate the line starting with KbdInteractiveAuthentication. Change it to:
bash
sudo nano /etc/ssh/sshd_config
KbdInteractiveAuthentication yes
If this line does not exist, you should add it. This setting ensures that keyboard-interactive authentication is used, which is necessary for the 2FA prompt.
Regardless of your distribution version, continue with the following steps to configure PAM:
- Edit the PAM SSH ConfigurationYou need to modify the PAM (Pluggable Authentication Modules) configuration for SSH to include Google Authenticator. Open
/etc/pam.d/sshdin your editor (usingsudoif necessary) and add the following line at the end of the file:bash
bash
sudo nano /etc/pam.d/sshd
auth required pam_google_authenticator.so
Step 5: Restart SSH Service
After making the necessary changes, apply them by restarting the SSH service:
bash
sudo systemctl restart sshd
Step 6: Test Your SSH Connection
It’s important to test the SSH connection to ensure everything is set up correctly. Open a new terminal window and try SSHing to your server. The connection process should now ask for your password followed by the verification code generated by your authenticator app.
Final Notes:
- Scratch Codes: Store your emergency scratch codes in a secure location. They’re vital if you lose access to your two-factor authentication app.
- Per-user Configuration: Remember, each user must run the
google-authenticatorsetup individually if they want to use 2FA. - Testing: Always test the new SSH connection in a new terminal window before closing existing sessions to avoid being locked out of the server.